The Hidden Complexity of Wallpaper Removal
Removing old wallpaper sounds straightforward — peel it off and you are done. In reality, wallpaper removal is one of the most labor-intensive and potentially damaging home improvement tasks homeowners face. Done incorrectly, it can tear drywall paper, gouge surfaces, and leave behind a wall that requires extensive repair before anything new can be applied. In Tampa, where older homes frequently have layers of wallpaper going back decades, professional wallpaper removal service is a worthwhile investment.
What Makes Wallpaper Removal Difficult?
Multiple Layers
Many Tampa homes have two, three, or even four layers of wallpaper applied over the decades. Each layer adds complexity, because older layers may have been applied with very strong adhesives that bond almost chemically to the wall surface.
Drywall vs. Plaster
The underlying wall material matters enormously. Plaster walls are generally more forgiving because they can tolerate moisture without absorbing it as readily. Drywall, however, is extremely sensitive to the water used in wallpaper removal. Saturating drywall can cause the paper facing to bubble, tear, or separate — requiring skim coating or even full drywall replacement.
Type of Adhesive
Older wallpaper was hung with wheat paste or oil-based adhesives that can be very difficult to dissolve. Modern wallpapers typically use water-based adhesives that respond better to removal solutions. Identifying the adhesive type before beginning is part of what professionals do.
Wallpaper Backing
Some wallpapers, especially older vinyl types, have a paper backing that stays behind on the wall even after the decorative face is removed. This backing must also be completely removed and the residual adhesive cleaned off before new finishes can be applied.
The Professional Wallpaper Removal Process
Step 1: Protecting the Room
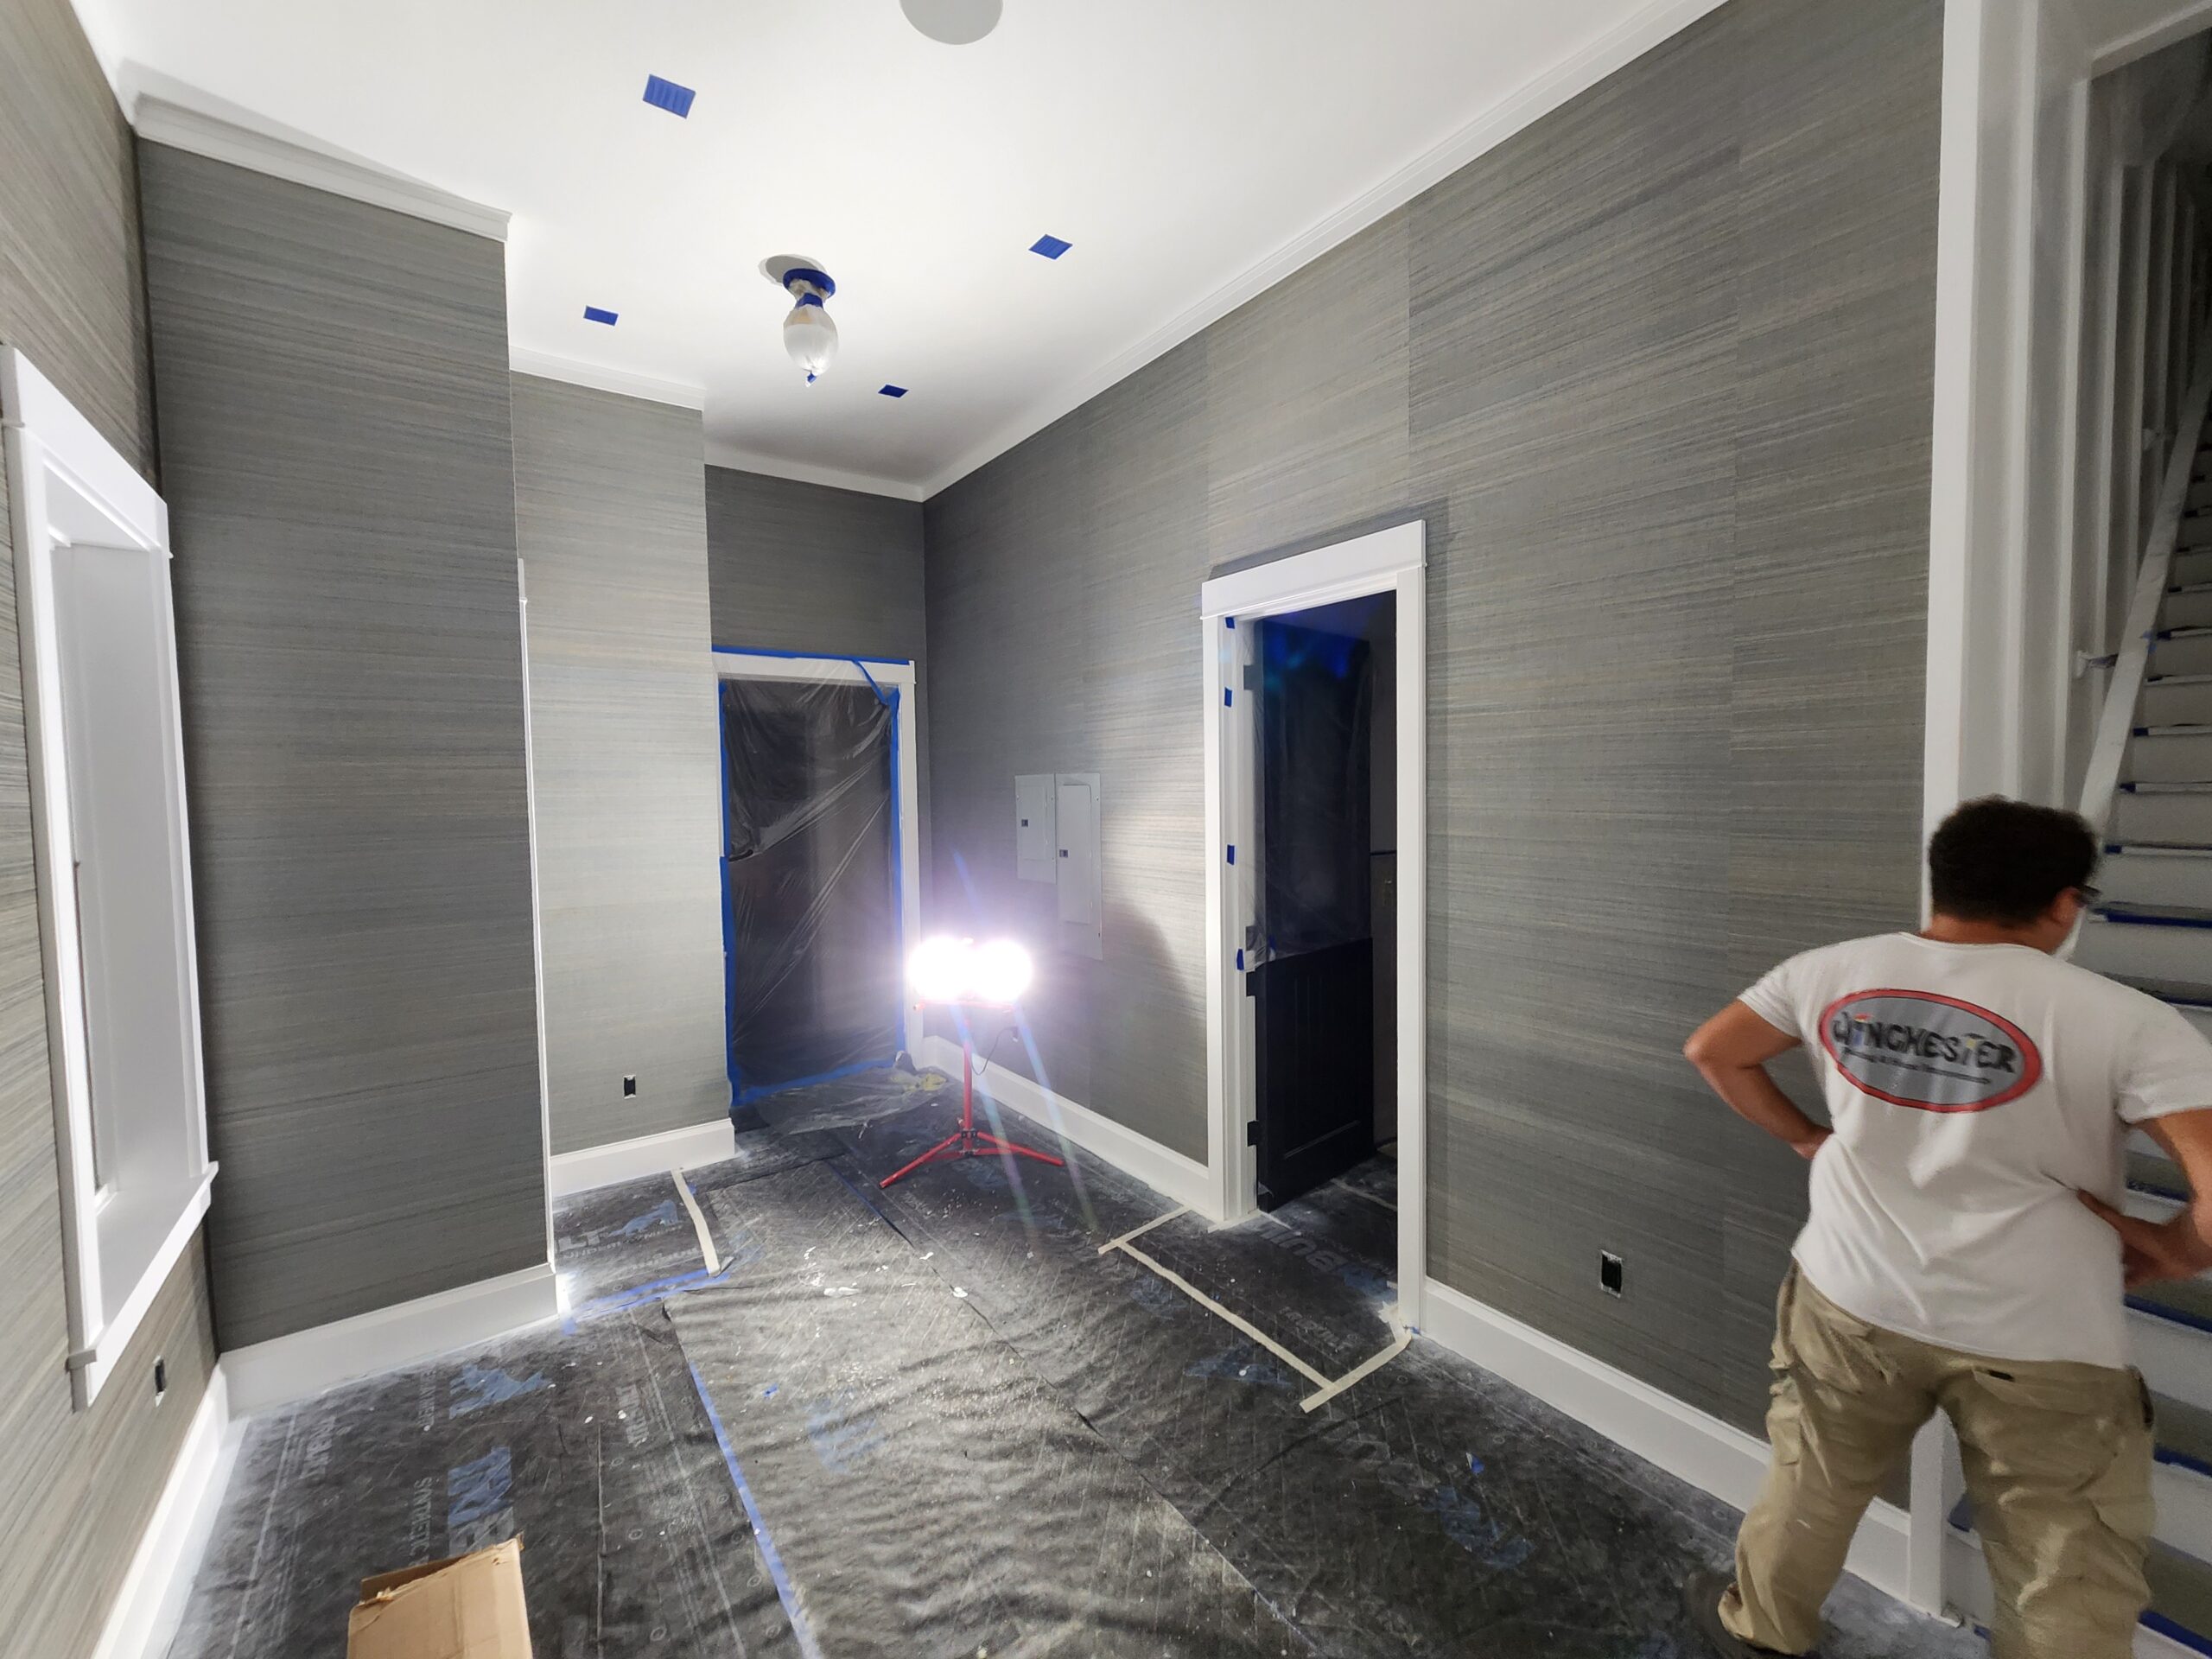
Before removal begins, professionals cover floors, baseboards, and outlets with plastic sheeting and tape to protect against water and adhesive residue. This is often skipped in DIY attempts, resulting in damaged floors and trim.
Step 2: Scoring the Wallpaper
A scoring tool creates small perforations in the wallpaper surface, allowing removal solution to penetrate through to the adhesive layer. This step requires a careful touch — scoring too deeply can damage the wall behind the paper.
Step 3: Applying Removal Solution
A professional-grade removal solution (or a mixture of fabric softener and water for some applications) is applied and allowed to soak for the appropriate dwell time. The solution softens the adhesive, making the paper easier to remove without tearing the wall.
Step 4: Careful Stripping
Strips of wallpaper are carefully peeled away at a low angle to minimize drywall damage. Wide, flat scrapers are used to help lift paper without gouging. This is slow, methodical work.
Step 5: Adhesive Residue Removal
After the paper is removed, residual adhesive is cleaned from the wall surface. This is critical — if adhesive residue is left behind and painted or wallpapered over, it creates a surface that will eventually fail.
Step 6: Wall Assessment and Repair Recommendations
Once the walls are clean and dry, a professional assesses any damage caused by the removal process. Minor tears and dents can be skim-coated and sanded. Major damage may require professional drywall repair before new finishes are applied.
Why DIY Wallpaper Removal Often Goes Wrong
The most common DIY wallpaper removal mistake is using too much water, which saturates and damages drywall. The second most common is using a scraper too aggressively, gouging the wall surface. The third is failing to remove all adhesive residue — which means paint or new wallpaper applied afterward will peel or bubble within months.
Winchester Home Improvements Wallpaper Removal in Tampa
Winchester Home Improvements offers professional wallpaper removal across the Tampa Bay Area. With 25+ years of experience, the team knows how to handle every type of wall and every era of wallpaper. The approach is efficient, careful, and leaves walls in the best possible condition for whatever comes next — fresh paint, new wallpaper, or other finishes. Call 813-401-0853 for a free removal estimate.
FAQs: Wallpaper Removal Service Tampa
Q: How long does wallpaper removal take?
A: A single room typically takes one full day, though rooms with multiple layers or extensive adhesive residue may take longer.
Q: Can I paint directly after wallpaper removal?
A: Not immediately. Walls need to dry fully (24–48 hours), then any damage must be repaired and primed before painting.
Q: Will wallpaper removal damage my drywall?
A: Professional removal minimizes damage, but some minor drywall damage is common, especially with older or heavily glued paper. It can be repaired.
Q: Is it possible to remove old wallpaper without water?
A: Dry scraping is possible on plaster walls but generally not recommended as it increases the risk of gouging.
Q: Does Winchester also repair walls after removal?
A: Yes. Winchester offers wall repair and priming as part of a comprehensive preparation service before new finishes are applied.